Hydroponic gardening is potential for anyone who wants to grow healthy, nutrient-rich plants without spending time or money on soil or pesticides. However, if you’re new to hydroponics, it can be difficult to know where to start.
The process of seed germination can be a little intimidating at first, but this article is here to guide you through the steps so that growth starts right away.
Seeds not only contain all of the plant information needed to start life; they also act as a natural food source for the young roots, shoots and leaves. Once you get the hang of keeping the seeds moist without overwatering them, you’ll be on your way to growing healthy plants with strong root systems.
Germinating seeds in your hydroponic system is pretty straightforward. With just a little practice and a few helpful tips, you’ll be sprouting seeds right in the comfort of your own home.
Seed Germination in Hydroponics
Seed germination is simply allowing a seed to sprout into a seedling. While some seeds are difficult to germinate, with the right conditions, it becomes relatively easy.
Since hydroponics allows you to control the environment of your plants better than soil does, this article will be focusing on how to do so for best results when trying to germinate seeds in hydroponics.
When you’re growing plants in a hydroponic environment, you need to know the best ways to get them started and keep them going. It can be difficult and frustrating for beginners if they don’t know what they’re doing, but the following tips should help make the process easier.
Deciding on a Starter to Use

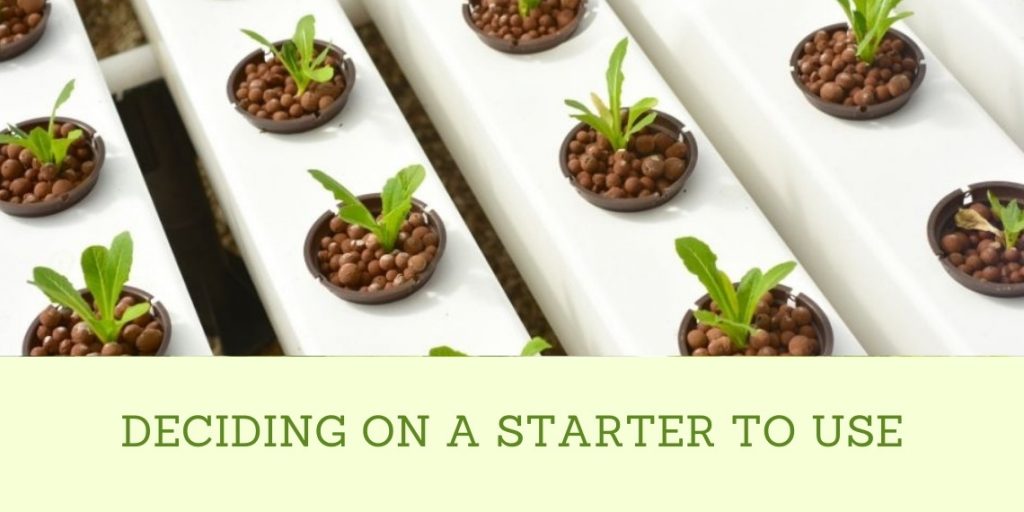
When it comes to germinating seeds in hydroponics, there are a few different starter options to choose from. One popular choice is Rockwool cubes, pellets, or peat pots.
Rockwool cubes and pellets need to be soaked in water first, and then you can put the seeds inside. Peat pots don’t need any special preparation, and they expand as the seed starts growing.
All three of these options work well; all you need to do is make sure they contain neutral pH. You also want to make sure the media is clean and sterile. It’s recommended that you use distilled water for hydroponic seed germination since it doesn’t contain any extra chemicals or minerals.
Pellets and Cubes Preparation in Water
It’s important to know which starter you’re going to use ahead of time. That way, you can prepare the pellets or cubes properly before adding the seeds.
Once you’ve decided on a starter, all you need to do is put them into a container that has clean water inside it. You should let this soak overnight and then gently squeeze out all the excess liquid before adding the seeds.
You should use a spray bottle to mist the cubes or pellets at this point and then place them inside your hydroponic system. The humidity and moisture from the water will help speed up the germination process.
Furthermore, you need to check the pH range for the water that you’re using. You want to keep it somewhere between 5.5 and 6, or else the seeds might not germinate successfully. To test the pH reading, you can use a pH testing kit or meter.
Once you know the pH level of your water, all you have to do is add a small amount of nutrients at this point. You can use a general hydroponic fertilizer that doesn’t contain any weed killers or other poisonous chemicals.
Adding Seeds to Cubes and Pellets

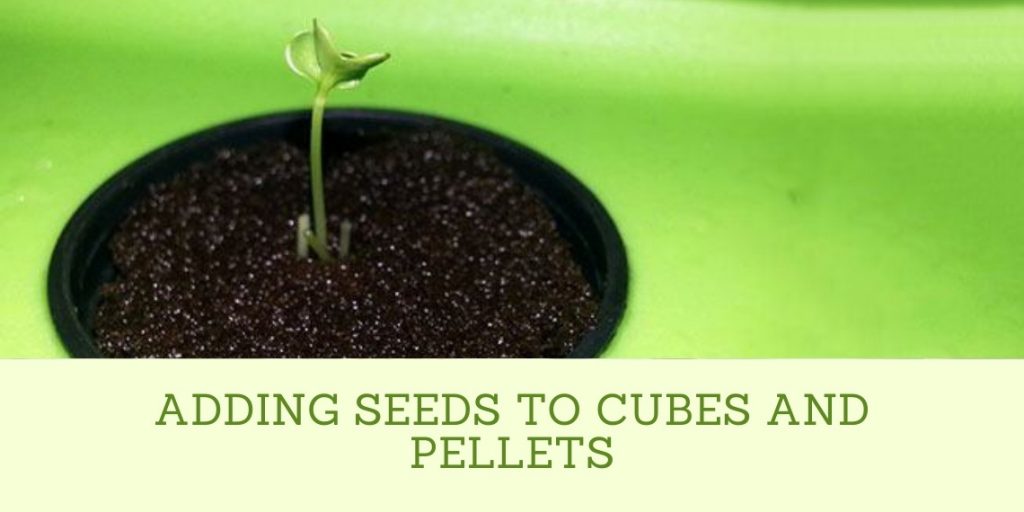
Before adding seeds to hydroponic cubes and pellets, you need to make sure they’re moist. You should spray the media with distilled water, but don’t soak them or leave them in standing water.
Place one seed inside each cube or pellet that you’ve prepared, and then add a few more to the surrounding area for good measure. It’s recommended that you use about four seeds for every cubic foot of media.
It’s essential to make sure the seeds are placed properly inside each cube or pellet. You can place them between 1/4 and 1/2 inches deep, as long as they’re no more than one-fourth of an inch apart from each other.
Some people do like to use only one seed per cube or pellet, but four is usually sufficient. You should use more seeds if they’re tiny or small and less if they’re larger.
You need to make sure you’re placing the seeds in an area where there’s enough room for both root development and growth. It might seem like a good idea to make all the seeds germinate at once, but it’s better if you take your time and space them out a bit.
Place your Cubes or Pellets in a Tray
Once you’ve sealed up your cubes or pellets with tape, all you need to do is place them inside a tray. The tray should have small holes in it for drainage.
If the media has already been soaked and squeezed, then there’s no need to add any more water to it. If they haven’t, though, then you’re going to need to add about an inch of water into the tray before putting in the cubes or pellets.
All you have to do is put in your cubes or pellets, being careful not to disturb them. Once they’re in, fill up the tray with just enough water so that it comes up around one-fourth of an inch on all sides of the cubes or pellets.
For covering the tray, use a Ziploc bag or a plastic dome. This is an inexpensive way to keep them moist and protected from air, light, the wind, and the sun. They’ll also prevent any algae growth on top of the water’s surface.
After covering the tray properly, put it in place with an average temperature of between 60- and 70-degrees Fahrenheit. If you don’t have room in your house, then put the trays in a greenhouse or in a warmer outside area nearby.
You can also make use of a heating pad or warming tray to keep the cubes or pellets at the right temperature.
Now the seeds are ready to start germinating. Once they start growing, you’ll need to maintain the water level at all times. Don’t let it get too low, and don’t let it overflow either.
If you see that the water’s becoming murky or cloudy after a few days, then there’s a good chance the seeds aren’t going to germinate successfully. If this happens, you can use clean water and pH control substances to correct the problem.
The Final Stage of Germination
After 4 or 5 days, you will begin to see the first set of true leaves. This is an indication that the seeds are germinating and beginning to grow. Once the seeds have germinated, you will need to transfer them to a hydroponic system so that they can continue to grow.
Once you have determined that your seeds have germinated, remove them from any paper towels and place them in the grow tray (or on top of the soil in the pot). The first set of true leaves should be several millimeters long. These are technically called the cotyledons, and they will look like two tiny green paddles (or an ivy leaf).
Even though you can’t see it, at this point, there is a stem with one or more leaves that are beginning to develop.
This is the time to begin light feeding with a diluted nutrient solution, about 1/4 strength. A continuous misting of the leaves is welcome at this stage, but avoid direct watering into the medium yet.
Since this is a hydroponic grow and there is no soil, do not water until you notice the top of the medium is beginning to dry out. This will be a sign that it’s time to water and feed your plants.
Each seedling should have its own dedicated grow tray, and the seedlings should be spaced far enough apart, so they don’t touch each other. It can take anywhere from three weeks to six weeks for the plants to reach this stage, depending on the strain.
Remember that it is crucial not to disturb the seeds during germination; otherwise, you will cause them to die.
Transplantation
When transplanting, it’s important to be gentle with the plant and to take into account its age, size and current condition. There are many different ways to transplant a plant, but the most important thing is to make sure the root system is intact and that the new pot has enough soil to support growth.
It will take around a month to transplant your seeds into your hydroponic system, and you should keep the original pot with no drainage holes to help retain water.
The first step is to get your seeds ready for transplanting. You must make sure the root system is intact before moving on to this step. If not, your plants will surely die.
When checking for intact roots, make sure you do not disturb the seeds as you go along. Take a magnifying glass and look carefully around the outside of the seed to make sure there are no cracks or signs of rot.
If it is cracked, then that means that roots will not grow from that area and that seedling is useless and will die soon. However, if it feels wet and has light brown color inside, then that seedling is healthy and ready to be transplanted.
At this point, you can go ahead and transplant your seeds into their new pots. This will be the most dangerous part for the seedlings because you have to be very careful with how you care for them.
The Bottom Line
In conclusion of this article, we learned that hydroponic germination is a lot easier than you might think. In fact, it’s as simple as filling the container with water and adding your seeds before waiting for them to grow into plants. It doesn’t take much at all to start growing plants in your home or office.
However, you should be aware that if you do not pay attention to the seeds and monitor the water levels frequently, your seedlings will suffer. Therefore, it is best to monitor them with a seed germination calculator or another device that can help you track their progress.
Furthermore, try planting several seeds in order to make sure at least one of them germinates successfully.
We hope this article has convinced you of the ease and simplicity involved with hydroponic gardening. In fact, hydroponics is a great way to get fresh air and an easy DIY project for everyone, from beginners to experts.
Once you’ve gone through the various growing phases and completed your first successful indoor crop, we’re sure you’ll want to try another.


