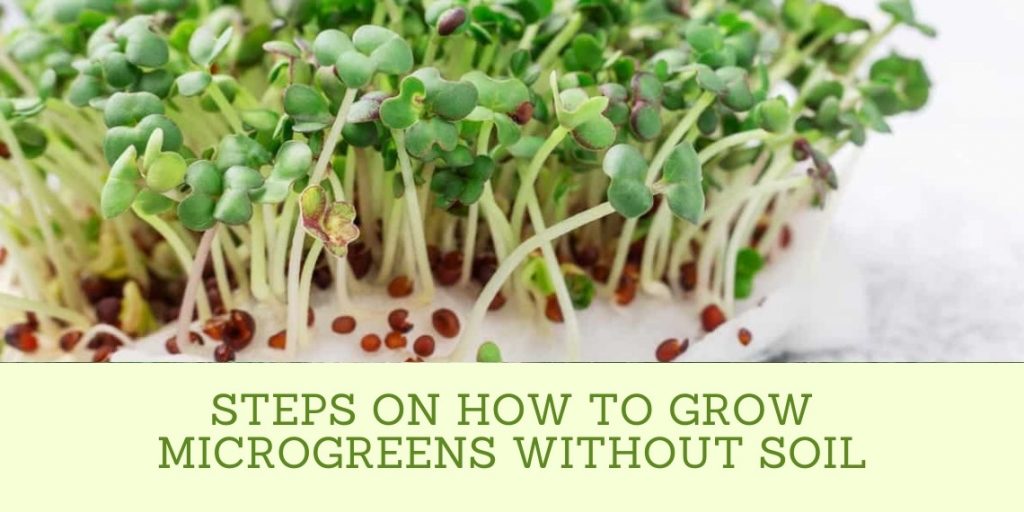
Growing microgreens without soil is an excellent option if you don’t have any outdoor space or if you’re concerned about the quality of soil in your area. You can use a variety of materials to grow your microgreens, including cloth, paper towels, and even water.
Growing microgreens without soil may sound like a difficult task, but it’s easier than you think. If you’re looking for an easy way to grow microgreens at home, this article will show you how to do just that.
Let’s take a closer look at how to grow microgreens without soil. That said, before we get into that in detail, let’s first discuss what you will need to do in this process.
Things You’ll Need for Growing Microgreens Without Soil
Microgreens are a great way to add more veggies to your diet without all the fuss of planting and maintaining a garden. With just a few supplies, you can have an easy indoor gardening system going on in no time.
Here’s what you’ll require to grow microgreens without soil:
Seeds
Seeds are probably the most important part of growing microgreens. You’ll want to use a variety of different types of seeds, from lettuces to herbs. You can also use microgreens that are grown from vegetables. Veggies include broccoli, radish, cauliflower and beans, to name a few.
Growing Trays
The next thing you’ll need is a growing tray which can be as simple as an old baking pan. Get creative and use just about anything but make sure it has drainage holes so excess water can escape.
Growing Medium
You will need to use a seed starting mix which is specially mixed to allow for proper drainage. Coconut coir, clay pebbles, vermiculite and hemp growing mats, among others, could be used as growing mediums to grow microgreens.
pH Testing Kit
You may also need a pH testing kit for this project. The most seed-starting mix is acidic and will need to be tested every day until the desired level of acidity is reached (about 5.5).
Grow Lights
You’ll need bright light to grow microgreens. Most people use grow lights, but you can also use sunlight during the day and a bright lamp at night. Using LED grow lights allows for even more energy-saving options as it has adjustable power settings to save energy while still providing the correct lighting.
Fertilizers or Nutrients
You may need to fertilize or provide nutrient solutions to your microgreens. Since the plants are grown indoors, they are not getting all the nutrients they would if grown outside in rich soil.
Fertilizer is usually added at least once a week but make sure to check the instructions before applying for whether or not it is necessary.
Spray Bottle
Lastly, you’ll need a spray bottle to water your microgreens each day. Use room temperature water to avoid shocking your microgreens.
Now that you know the basics of growing microgreens without soil, you can get started. This could be a great hobby even if you don’t eat them regularly yet. You could also grow them for fun and healthy eating.
You’ll save money in your food budget by growing microgreens, too, because it’s much cheaper than buying packaged produce at the store. You can grow a bunch of different types of microgreens for just a few dollars and up your vegetable intake without too much work.
Steps on How to Grow Microgreens Without Soil

All you’ll need are the few supplies mentioned above, and you’re ready to get started. It’s an easy process that anyone can do. Here are the steps on how to grow microgreens without soil:
Step 1: Preparing your Water
Distilled water is best for your microgreens, as it comes out of the tap with all of the minerals and chemicals removed. If you cannot buy distilled water, boil tap water for 20 minutes to remove most of the impurities.
Make sure that it is cool before using it on your greens. Also, make sure to test the water using your pH test strips and adjust it accordingly. You want the pH to be around 6 or 7 for your greens.
Step 2: Preparing your Tray
There are many different kinds of trays out there that you can use, but make sure that they are plastic so that they don’t rust in the water. It’s also necessary to poke holes in the bottom of the tray so that water can drain out as your greens grow.
Step 3: Adding your Seeds
Because microgreens are grown in such small quantities, it’s important to lay down a thin layer of seeds across the entire surface of your tray. This will help ensure proper growth and full coverage, which you won’t get if you plant them thickly.
A single tray can hold around 2 tablespoons of seed, which is an amount that will supply weeks’ worth of greens for your family.
Step 4: Keeping your Seeds Moist
Your seeds will be difficult to see once they germinate, so it’s crucial that you keep them moist until they do. The easiest way to do this is by setting your seed starting tray inside another larger container. Then allow the water from the larger container to drip down into your tray.
You can also use a spray bottle if you prefer. You want to keep your seeds moist or wet at all times and never dry.
Step 5: Germinating your Seeds
In about a week, your seeds should germinate and be ready to move into the light. It’s important not to let them stay in their wet environment for too long after they sprout.
This is because their stems need time to harden off before moving on to the next step of growing microgreens without soil.
Step 6: Putting Seeds Under Grow Light
Now it’s time to move your greens under a grow light. This is the part of how to grow microgreens without soil that most people seem to struggle with, as there are many different options for types of lighting you can use.
During the day, natural sunlight works best, but they also need some sort of artificial light at night. Fluorescent grow lights are easy to come by and cheap, which makes them perfect for this part of the process.
Step 7: Waiting and Harvesting
You’ll need to wait about two weeks before your greens are ready for harvest. This is an important part of growing microgreens without soil. You should also be sure that the roots of your microgreens have fully taken hold in the water tray before harvesting them.
It’s very easy to kill them if you move too fast on this step. Once your greens are ready for harvest, uproot them from the tray and use a sharp knife to cut away any excess roots that might remain.
Step 8: Drying Your Greens
It’s time to dry out your microgreens before you cook with or eat them. This is an important step that a lot of people skip over. However, it’s important to dry them out so that you aren’t adding extra moisture to your food.
To do this, use a salad spinner or roll up the greens in some paper towels, then put them in the microwave for one minute on half power. This should be enough time to dry them out without cooking or burning them.
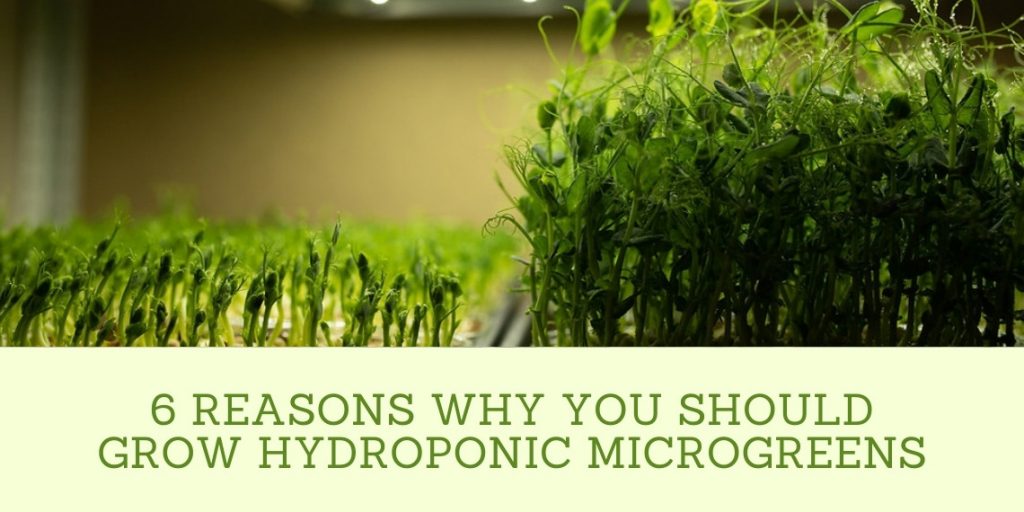
6 Reasons Why You Should Grow Hydroponic Microgreens

Growing hydroponic microgreens is a great way to grow leafy greens and herbs. It’s a fun and easy way to try something new. Here are 6 reasons why you should try it:
Grows Year-Round
Microgreens can be grown indoors in most climates, meaning you can enjoy greens any time of the year. Plus, there’s no risk of having your crop ruined by bad weather or pests like insects and animals.
Easy to Grow
Growing hydroponic microgreens only requires following some simple steps. It doesn’t require any special expertise or special equipment. Growing hydroponic microgreens is a great way to introduce children to gardening.
Less Work and Precision
There’s no need to till or maintain a garden, and no weeding necessary. All you have to do is plant your seeds and turn on the grow lights.
With microgreens growing indoors under LED grow lights, plants can be given exactly what they need at exactly the right time, allowing for increased speed and harvest potential.
Fast Growth
Microgreens are ready for harvest in 10 to 21 days. That’s up to 6 times faster than other greens like kale, spinach or lettuce.
The best part is you don’t have to wait for the crops to mature either. You can just pick off the microgreens as needed, allowing other leaves to keep growing. Less waste!
Good for Small Spaces/Low-Maintenance
Growing hydroponic microgreens indoors can be done on a countertop or table and requires less room than growing plants in the ground. Microgreens don’t need to be watered as often as plants grown outdoors – they only need water once a day or twice a week.
Higher Yield
The yield of microgreens is up to 8 times higher than the yield of traditional top-cut leafy greens. Growing microgreens indoors takes less time, so yields are higher even though they’re smaller.
Taste Delicious
They’re packed full of nutrients, vitamins and minerals that help your body function properly. Some microgreens even taste sweeter due to the higher concentration of sugars found in the leaves.
Final Note
Now that you’ve learned your microgreens can grow in an unexpected way, go give it a shot!
Since you won’t need soil or any special equipment, anywhere that is indoors and has enough light can sprout microgreens. They are very easy to grow throughout the year for fresh greens on salads, sandwiches, smoothies – the possibilities are endless.


